


Learn to Knit
Knitting is an enjoyable experience and a portable craft. Learn this relaxing and productive hobby step by step. Find out how to knit in this simple step by step beginners guide.
Supplies
Wooden, bamboo, or plastic needles are best for beginners. They grip the yarn better than aluminum needles or Teflon-coated needles and do not allow stitches to slide off too easily. Choose a size 8, 9, or 10 (U.S.) for stitches that are easy to see and manipulate.
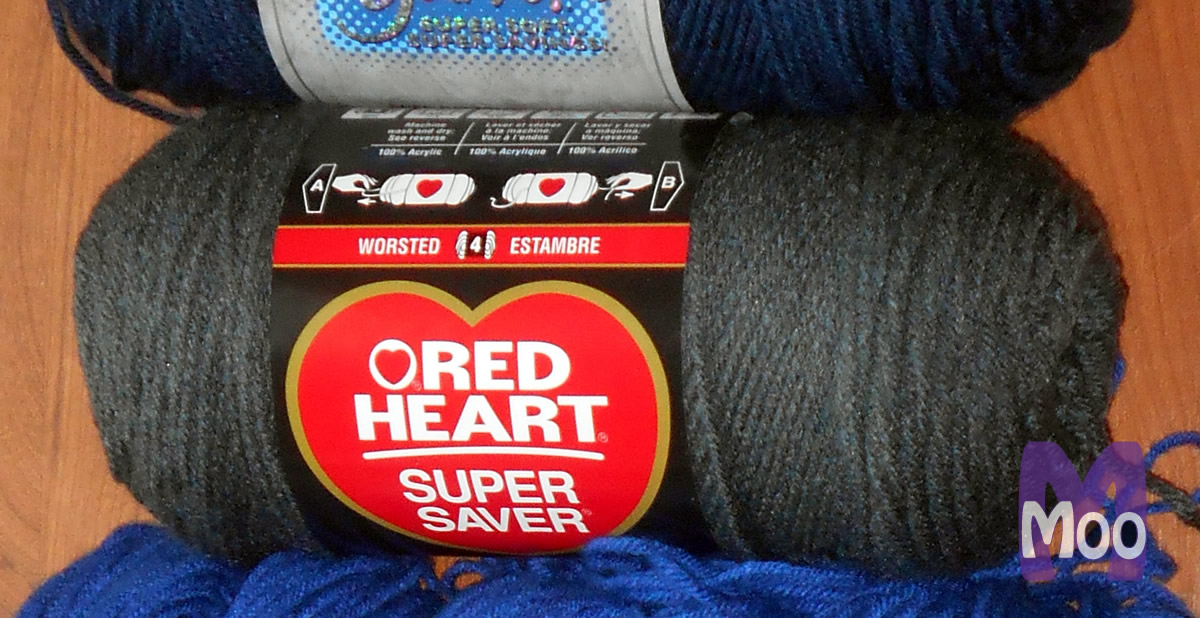
Use worsted weight yarn such as I Love This Yarn by Hobby Lobby or Wool-Ease by Lion Brand Yarn. You don’t want texture in the beginning, as fuzzy or nubby yarn makes individual stitches more difficult to distinguish. Smooth yarn is also easier to ravel if a mistake needs to be corrected. The yarn color should contrast with the color of your needles to avoid eye strain.
Foundational Skills: Casting On
Casting on means placing the first row of loops on a needle so knitting can begin. While there are many methods of casting on, the most common are single cast-on and long-tail cast-on. Follow these tutorial links to see a demonstration of each:
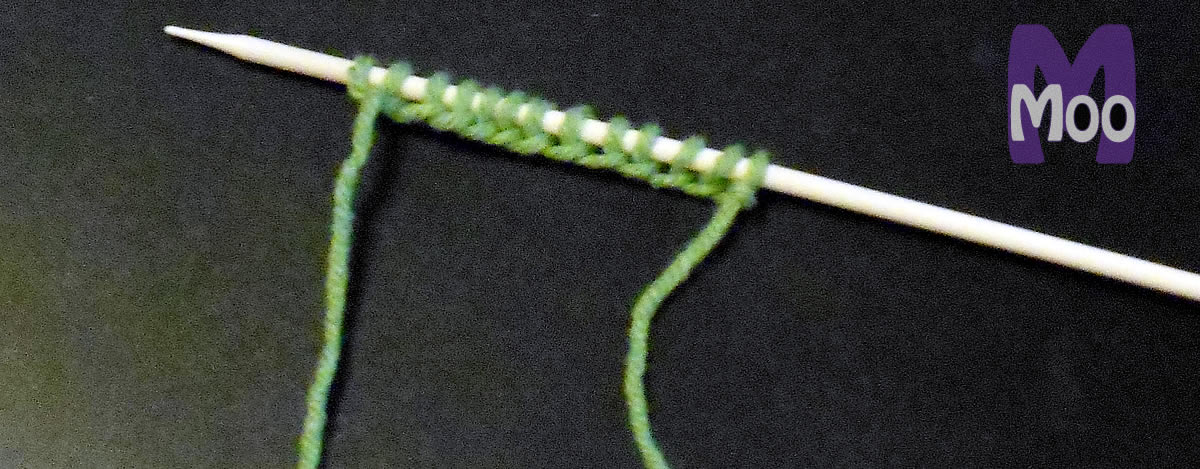
Whichever method you choose to try first, be sure to cast on your stitches loosely. There must be room to fit a needle into the stitches in order to knit the first row. Many knitters cast on using needles a size larger than the needles they plan to knit with. Cast on 20 to 30 stitches for a practice piece.
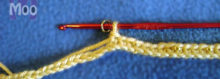
The Single Cast-On
Foundational Skills: Knit Stitch
For knitting, the needle with the cast on stitches is held in the non-dominant hand (left hand for right-handed knitters. The other hand holds an empty needle which will be used to knit the stitches off the left needle. There are two main methods for knitting. In English knitting, the yarn is held in the right hand (for right-handed knitters) while Continental knitters hold the yarn in the left hand. Either way, the knit stitch is created the same way.
Assuming right-handed knitting, the right needle is inserted from left to right into the front of the nearest loop on the left needle while the yarn is held in back of the needles. The right needle catches the yarn from the back of the work and pulls it through the loop. The loop from the left needle is then dropped off the tip of the needle. When done correctly, assuming 20 stitches were cast on, 19 loops remain on the left needle and 1 new knit stitch is on the right needle.
Proceed the same way until every stitch from the left needle has been knit. Switch the right and left needles so the empty needle is in the right hand. Keep yarn in back of the work and knit another row.
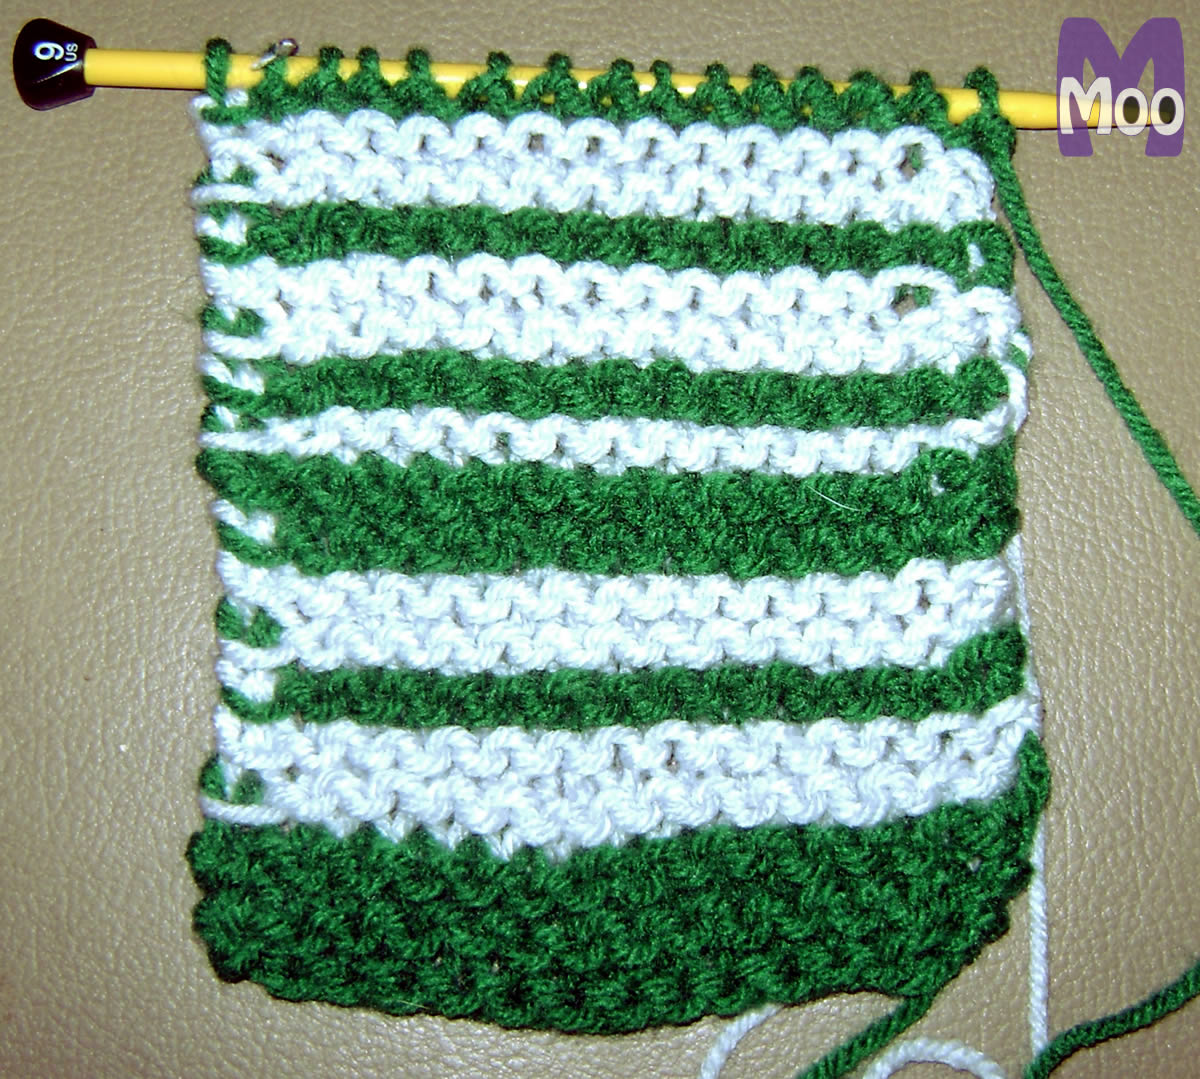
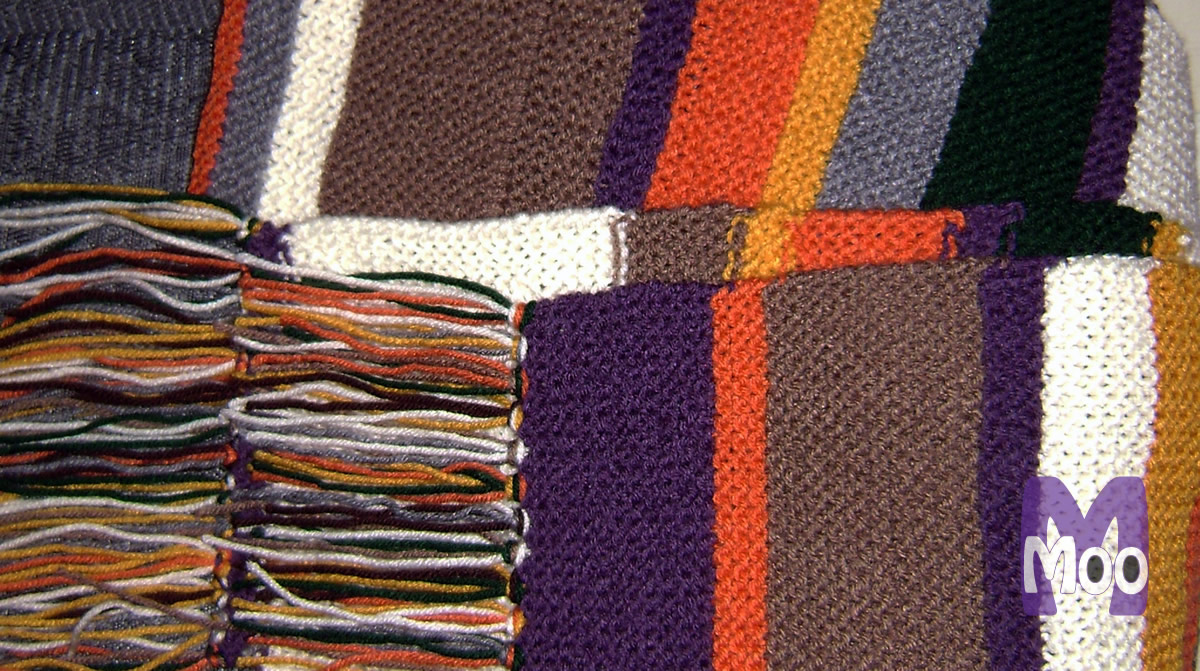
Row after row of knit stitches creates garter stitch. This is a textured and stretchy stitch ideal for dishcloths and scarves.
Try not to knit too tightly. Beginners are often afraid of dropped stitches; be confident that anything dropped may be picked up and placed back whence it came. Aim for stitches that glide easily along the needle and are uniform in size.
Binding Off
When the practice work is roughly square, learn to bind off. Knit the first 2 stitches of a row. With the left needle, lift the first stitch you knit over the second stitch you knit and drop it off the needle tip. Knit the next stitch and slip the previous stitch over that stitch. Continue until there is only one loop on left needle. Cut the yarn, leaving a 6-inch tail. Pull the tail through the final loop, remove the needle, and tighten the knot. Use a plastic yarn needle to hide the yarn ends by weaving them in and out of stitches.